How to Fix a Key That Doesn't Work: Diagnostic Guide
By MechKeyReview Team • • How Mechanical Switches Work
A key stops registering. It might be completely dead, it might be intermittent, or it might double-register every time you press it. Before you conclude the keyboard is broken and order a replacement, work through this diagnostic guide — most key failures have a simple fix.
We'll go from the simplest possible cause (software) to the most hardware-intensive (PCB desoldering), stopping as soon as the problem is solved. Most users fix their issue at step 1 or 2.
Software → keycap → switch contacts → switch replacement → PCB → support
Step 1: Rule Out Software First
Before touching hardware, eliminate software as the cause. This catches at least 20% of reported "dead key" cases. The key is fine — something above it is interfering.
Run these checks in order:
| Test in a different app | Open Notepad or a browser URL bar and press the key. If it registers there but not in your game/app, it's a software keybind or hotkey conflict. |
| Disable keyboard software | Close any remapping software (AutoHotkey, Karabiner, Vial, VIA, iCUE, Synapse). Retest the key. |
| Test via keytest.io | Open keytest.io in your browser and press the key. If it lights up, the hardware is fine. If it doesn't, proceed to step 2. |
Step 2: Inspect the Keycap and Switch Stem
Pull the keycap off using a keycap puller (or carefully with your fingers). Inspect the inside of the keycap and the switch stem underneath. Look for: a cracked or deformed stem, debris lodged inside the keycap (hair, crumbs, dried liquid), and a bent or broken stem cross.
Press the bare switch stem directly with your finger. If the key now registers, the keycap was the problem — either a crack in the stem socket or debris preventing proper contact. If pressing the bare stem still produces nothing, move to step 3.
Step 3: Clean the Switch Contacts
Switch contacts can fail due to oxidation, dust accumulation, or dried flux from factory soldering. The fix is isopropyl alcohol (90%+ concentration) and compressed air.
Without removing the switch: direct a short burst of compressed air into the switch housing from above and from the sides. Then apply 1–2 drops of 90%+ isopropyl alcohol around the switch housing gap. Work the switch stem up and down 20–30 times. Let it dry completely (15–30 minutes) before testing. This resolves most dirty-contact failures.

A quick blast of compressed air followed by isopropyl alcohol will clear most contact failures without opening the switch.
Step 4: Test and Replace the Switch
If cleaning didn't work, the switch itself may be faulty. Test by swapping it with a working switch from an infrequently-used key (e.g. Pause/Break). Press the moved switch in the original location — if it registers, you've confirmed the switch is dead.
Replacing the switch depends on your keyboard's PCB type:
Step 5: Check the PCB for Damage
If a replacement switch in the same position still doesn't register, the problem is the PCB, not the switch. Examine the two solder pads (or hot-swap socket) under magnification. Look for: a torn or lifted pad, a cracked trace, corrosion (green or white discoloration), or a bent hot-swap socket pin.
Minor pad damage can sometimes be repaired with conductive silver epoxy. Cracked traces can be bridged with thin wire. But if the PCB damage is extensive, the most practical fix is a PCB replacement — which is economical for high-end boards and not cost-effective for budget ones.
Step 6: When to Contact Support
If you've reached this step and the key still doesn't work, the failure is likely in the PCB or a deeper hardware issue. Before giving up, check whether your keyboard is still under warranty. Most reputable brands offer 1–2 year warranties that cover manufacturing defects.
Contact the manufacturer with: a video showing the key not registering on keytest.io, the serial number of the board, and a clear description of what steps you've already tried. This gives them everything needed to authorise a repair or replacement quickly.
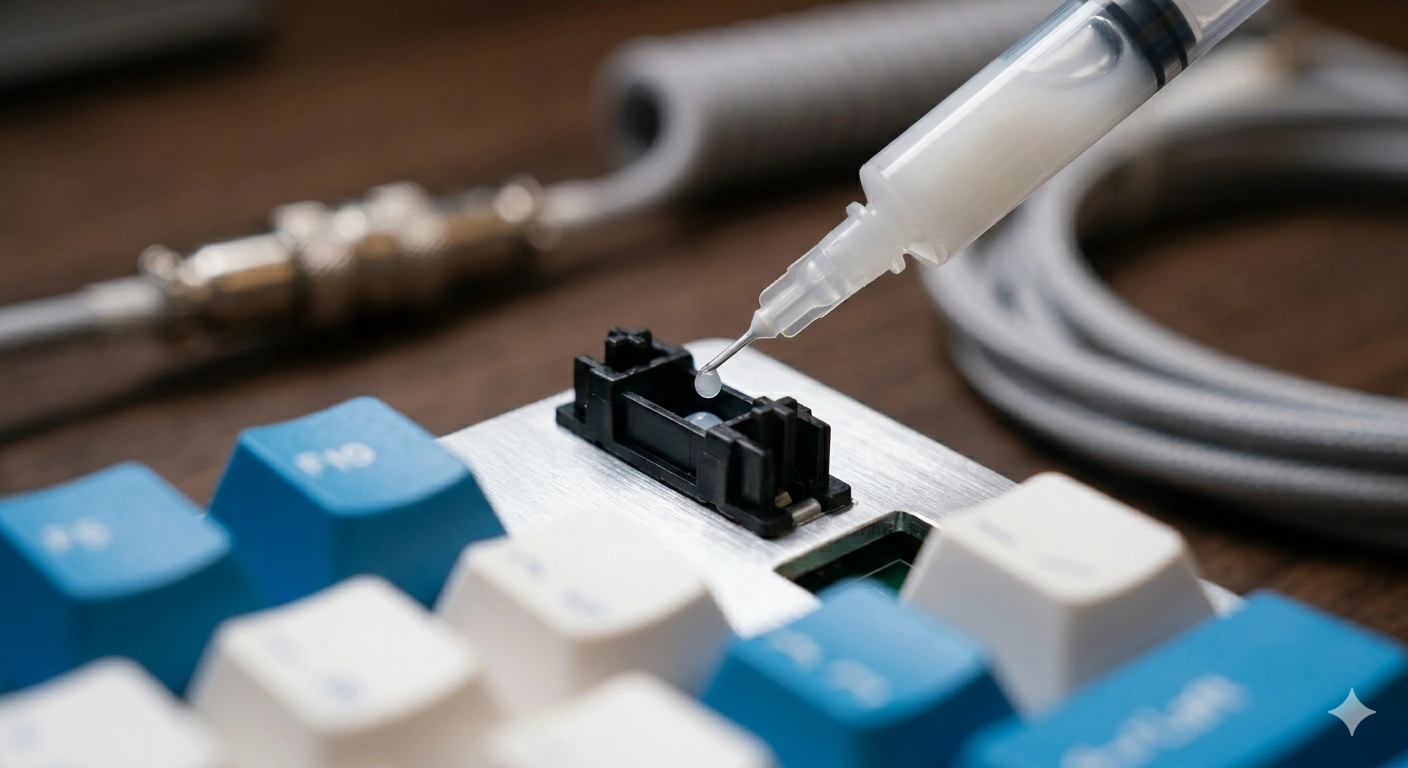
Understanding why switches fail in the first place helps. Our guide to How Mechanical Switches Work explains the contact mechanism in detail. If the switch is still functional but feels rough, How to Lube Switches may solve it without replacement. And after fixing the key, a proper keyboard cleaning guide.
Frequently Asked Questions
Time to upgrade instead?
If the repair isn't worth the effort, check our 2026 picks for the best mechanical keyboards across every budget.
See Best Keyboards 2026 →By MechKeyReview Team • Published June 15, 2026