How to Lube Stabilizers: The Rattle-Free Guide
By MechKeyReview Team •
Stabilizers are the single biggest source of bad sound in a mechanical keyboard. A rattle-free spacebar, smooth Enter and Shift keys, and quiet Backspace — these are what separate a properly modded keyboard from a stock one. Lubing stabilizers is easier than lubing switches and produces one of the most audible improvements in any build.
This guide covers the complete stabilizer lubing process from disassembly to reinstallation, including the band-aid mod. Time required: 30–60 minutes for a full set of stabilizers.
What You Need
Step 1: Disassemble the Stabilizers
Remove the stabilizers from the PCB. For screw-in stabilizers: unscrew from beneath the PCB. For clip-in stabilizers: press the clip tabs inward and pull up. Remove the wire from the housing by rotating it out — slide one end out, then rotate the wire to free the other end.
Fully disassemble: separate the top housing, bottom housing, stem, and wire. You'll have 4 parts per stabilizer. For a full-size board: typically 7 stabilizers = 28 pieces total.
Step 2: Clean Everything
Dip a small brush or cotton swab in isopropyl alcohol and scrub the interior of both housing halves and the stem. The factory "lube" on most stabilizers is thin and inconsistent — it contaminating your fresh lube reduces the effect. Shake off excess IPA and allow to dry completely (5 minutes). Don't lube wet parts.
Step 3: Lube the Housing
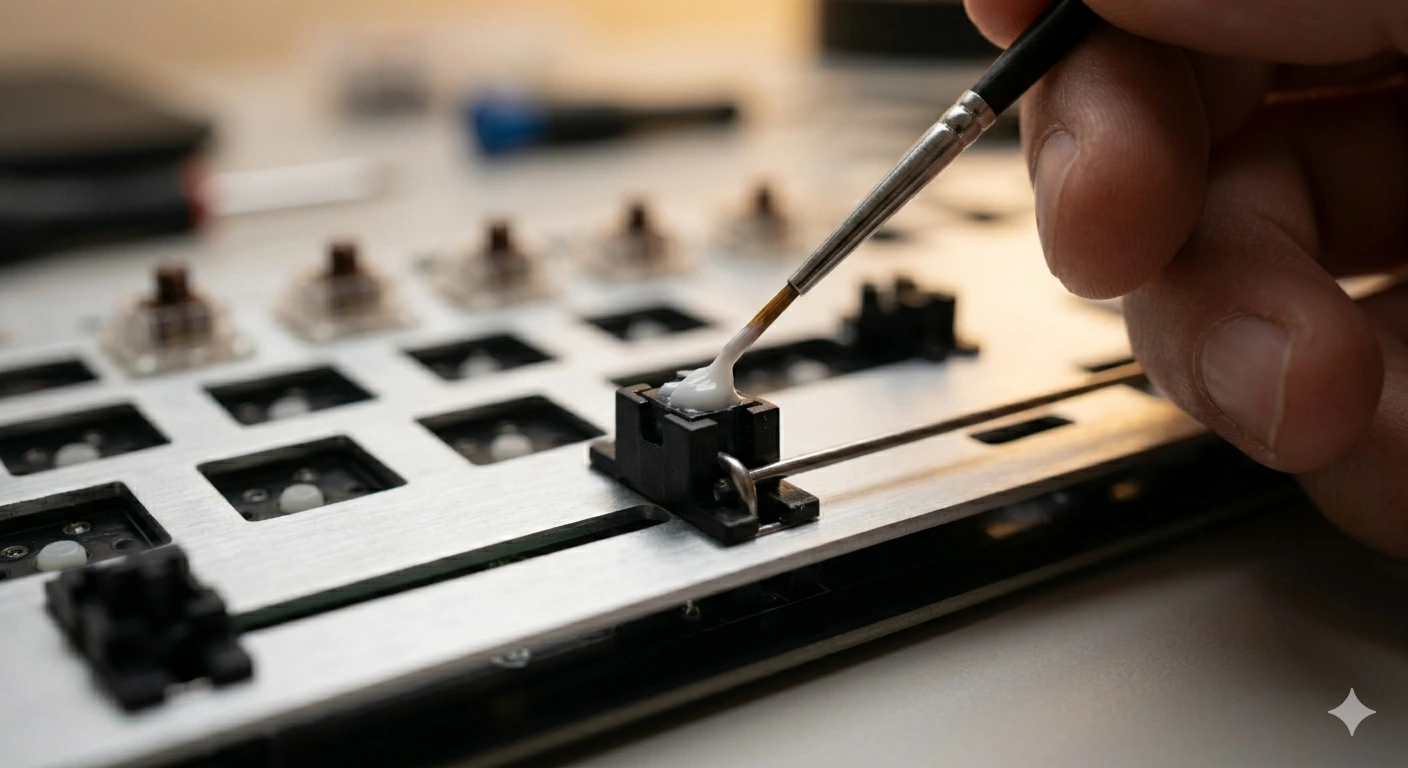
Apply Krytox 205g0 (or your chosen grease) to the inside of the bottom housing — specifically the two cylindrical channels where the stem sits and slides. Use a brush and apply a thin, even coat. You want coverage without excess — too thick and the stabilizer becomes mushy.
Also apply a thin coat to the inside of the top housing where it contacts the stem. Apply a small amount to the outer legs of the stem where they slide inside the housing. Do NOT lube the very top of the stem where the keycap fits — this doesn't contact anything that causes rattle.
Step 4: Lube the Wire
This is where most rattle comes from. Apply a generous dab of dielectric grease (Permatex) to both ends of the stabilizer wire — specifically the bent "hook" sections that slot into the stem. Coat the hooks thoroughly; this is the primary friction point for the ticking/rattle sound on large keys. Wipe any excess off the middle section of the wire — it doesn't need lube there.
Optional but Recommended: The Band-Aid Mod
The band-aid mod reduces the "clack" sound when the stabilizer bottoms out by adding a thin pad at the PCB mounting point. Cut a small square of adhesive bandage (the white gauze pad part) and stick it to the PCB directly under where the stabilizer housing sits. The band-aid absorbs the impact instead of transmitting it through the PCB.
Some builders also add a small amount of dielectric grease on top of the band-aid before installing the stabilizer — this further smooths the contact. The mod takes 5 minutes and makes a noticeable difference on the spacebar in particular.
Common Mistakes to Avoid
Want to lube switches too? Read our guide on how to lube switches. For the full build process, see our guide on how to build a custom mechanical keyboard. For keyboard mounting system differences, read our guide on gasket mount vs tray mount.
Frequently Asked Questions
Ready to build or modify a keyboard?
Lubing stabilizers is just one step. Our complete build guide walks you through every part of the process from component selection to final assembly.
Read the complete keyboard build guide